Logging in to Authelia

Following the previous Authelia blog listed below, we are at part 5, actually logging in to Authelia and setting up tokens for MFA etc.
- Authelia for MFA on docker
- Deploying test hosts for Authelia MFA authentication
- Configuring Nginx reverse proxy in front of Authelia
- Configuring Caddy reverse proxy in front of Authelia
- This page: Logging in to Authelia
Authelia
We are now at the stage go logging in at the dialogue box on https://auth.milpixel.com, this is the same regardless of which solution I used for the reverse proxy. When we point our browser to the site we are greeted with the sign in page presented below:
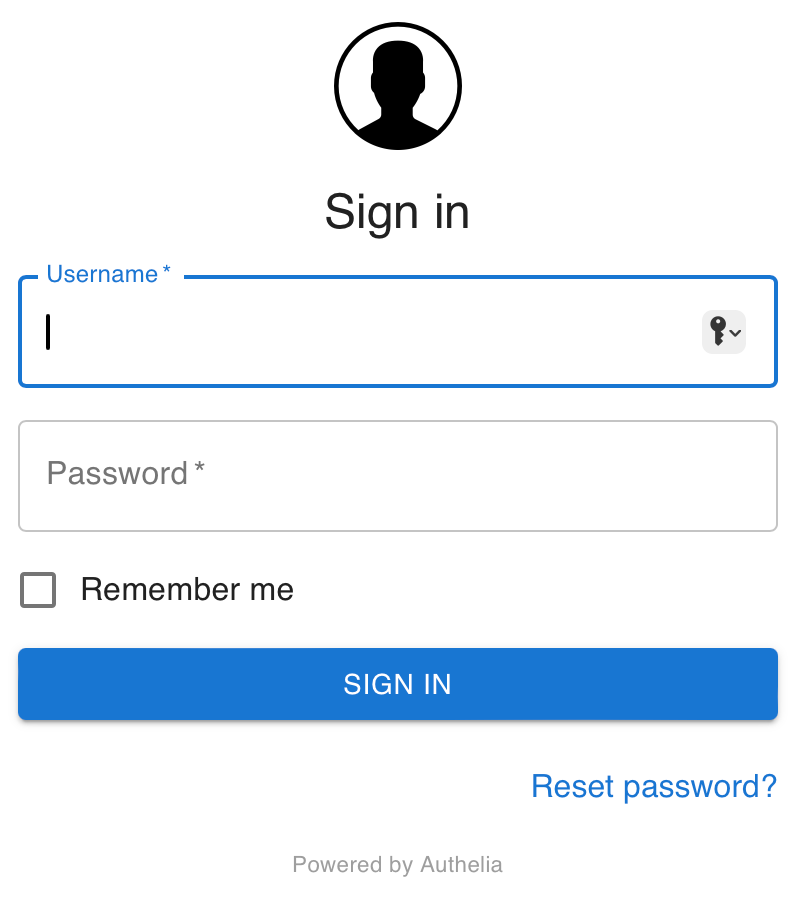
Following on from previous blog posts, we can log in here with our super secure userid and password we stored in the user_database.yml file earlier. These were the user id of "myuser" and the password "mystrongpassword".
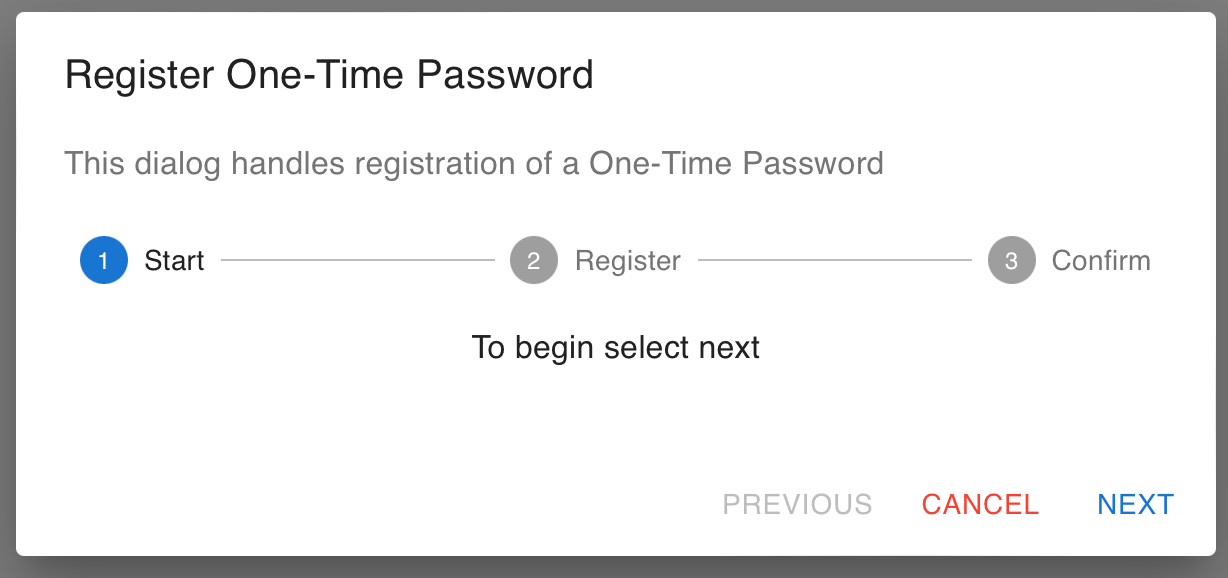
When logged in for the first time you are presented with the option to register a device:
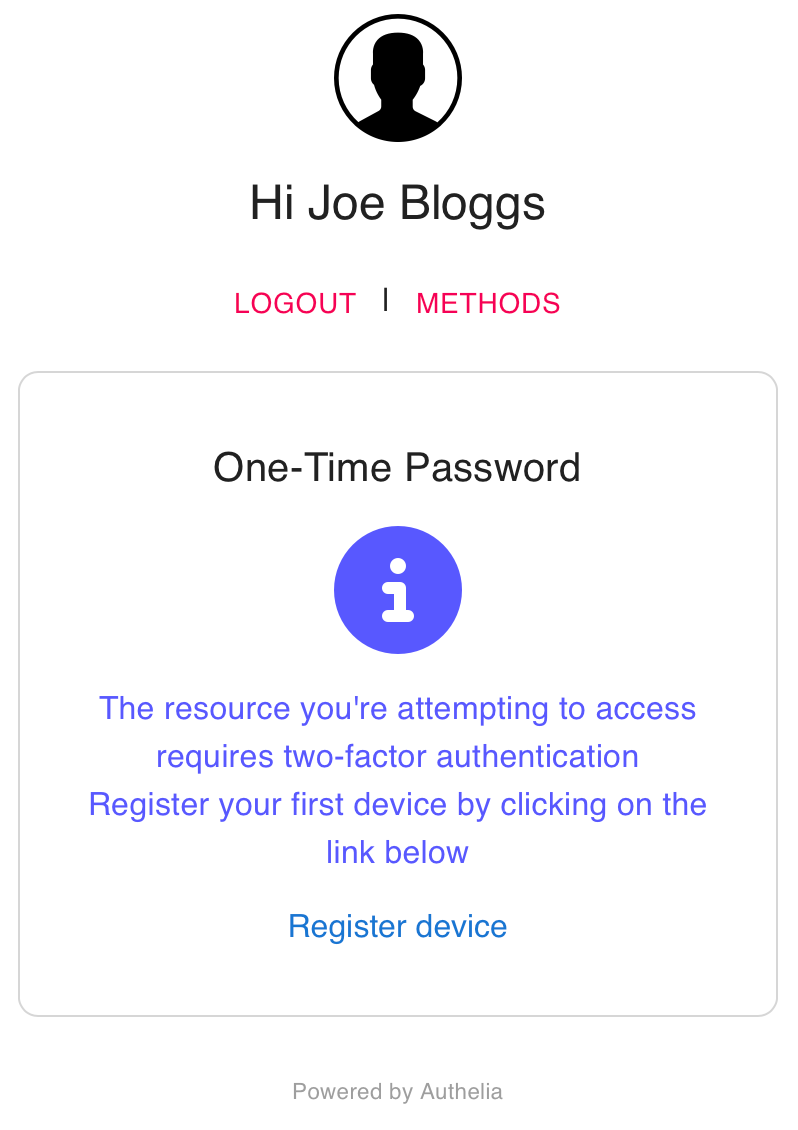
Clicking Register device brings you to the following options:
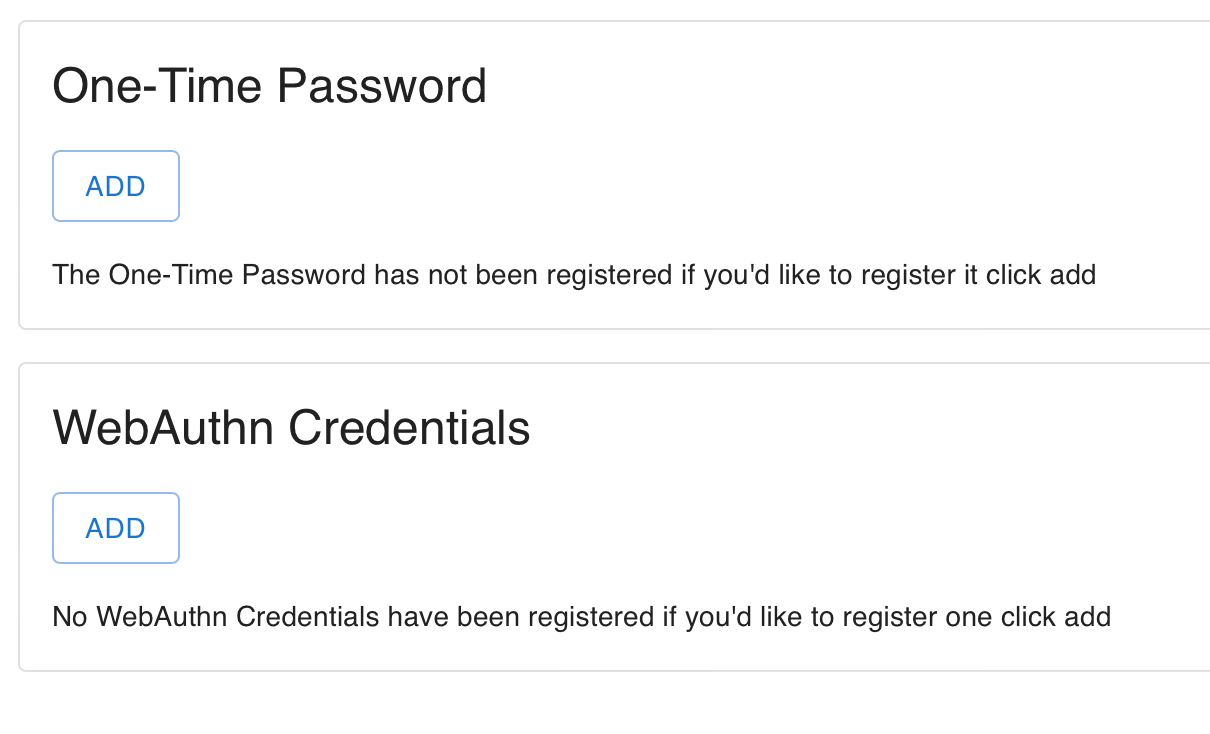
For the time being, I wish to add a One-Time Password so selected that option, following which this verification box appeared.
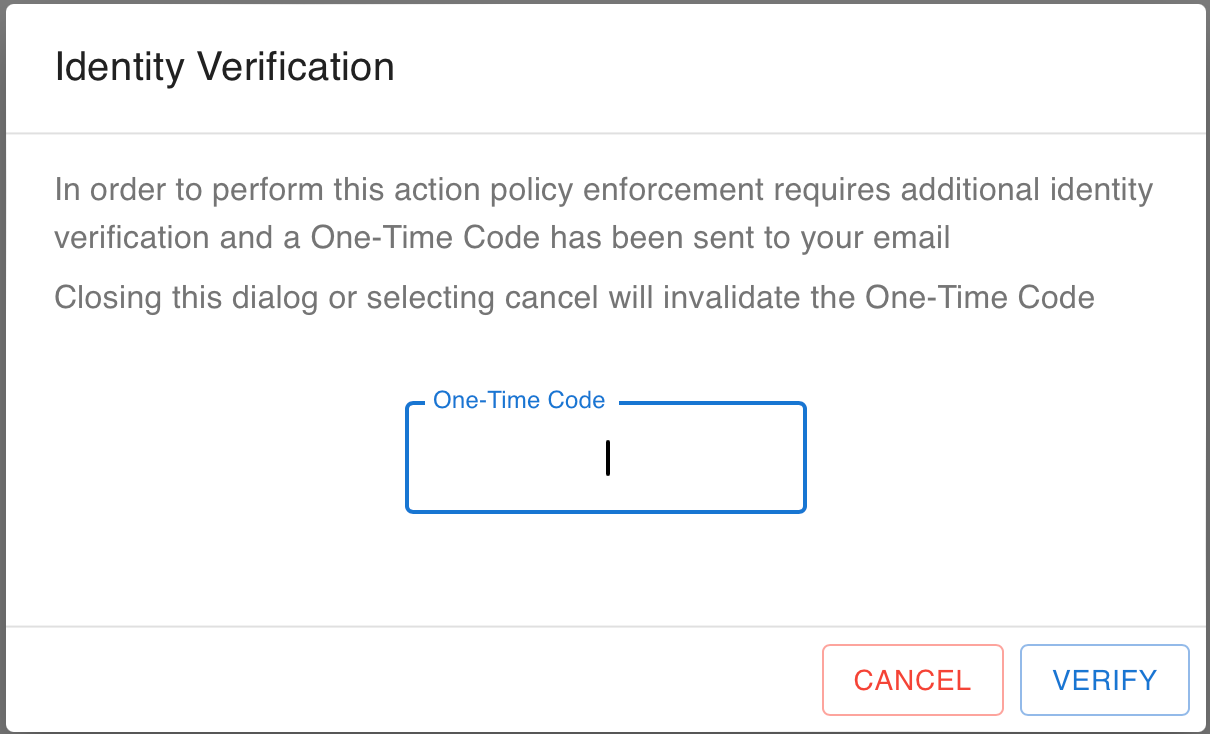
Just seconds after this, I received an email shown below Authelia using the mail credentials we configured previously.
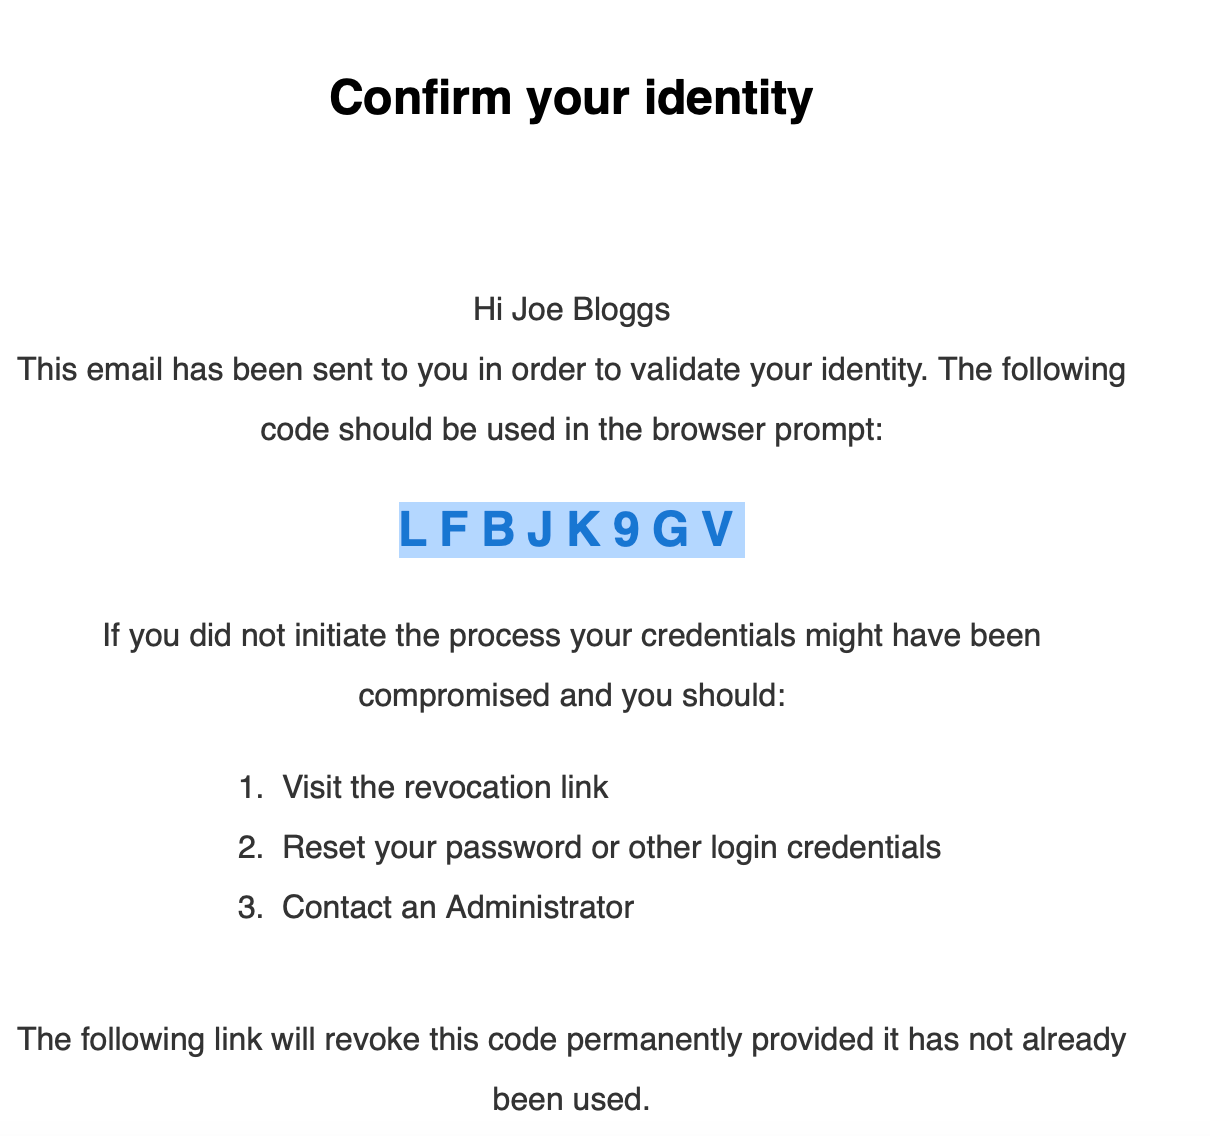
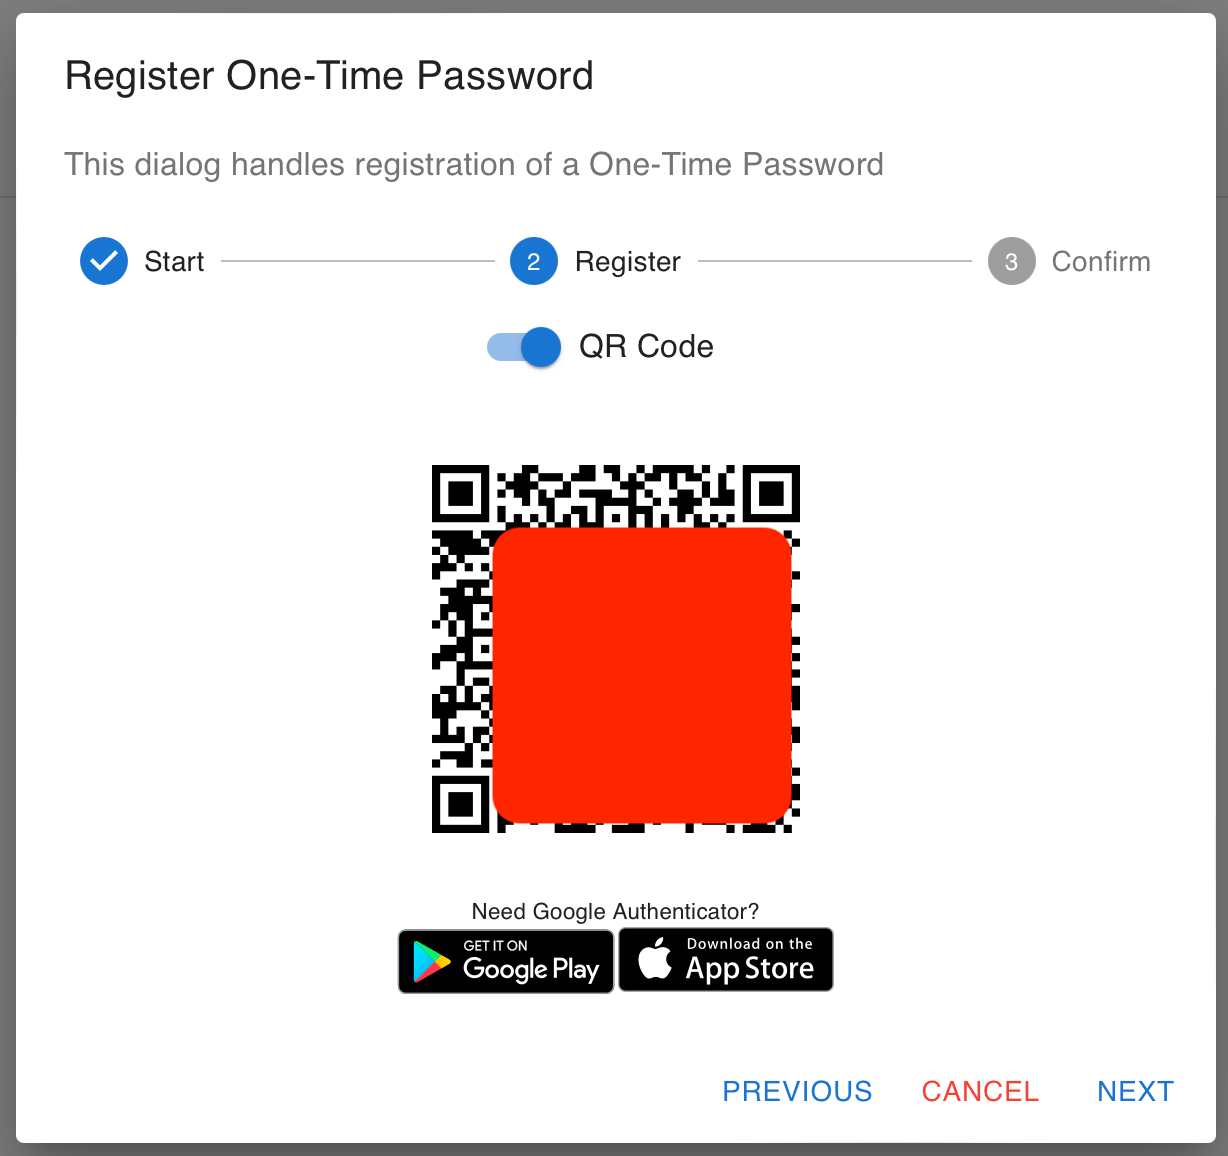
I entered this pseudo random code into the web dialogue box to proceed. Following which I received the following box:
Clicking on Next presents the QR code to begin the process of adding this authelia deployment to your chosen mobile authentication app. Obviously the big red blob isn't there really. 😄
After scanning the QR code with my mobile authentication app, it was registered, I had to enter the 6 digits presented to me on the mobile app.
Then finally, it was recorded as being registered:

This page has been a simple walk through of setting up our authenticator app for use with an Authelia deployment. I am not prompted for a username and password for the 1-factor-website, and for the 6 digit authentication code for the 2-factor-website.
Finally Delete Everything
Now this blog series is complete it is time to tidy up and remove everything:
- Delete DNS Configurations ✅
- Delete all docker containers ✅
- Delete all data directories ✅
- Delete site from Authenticator App ✅
- Delete sites from Nginx Proxy Manager ✅
- Delete 1-factor and 2-factor sites ✅
- Delete any FW rules, or NAT port forwarding entries ✅
That's All Folks. Should you wish to visit any of the earlier posts in this series they are linked below: